logo
China Glass Partition Wall System manufacturer
English

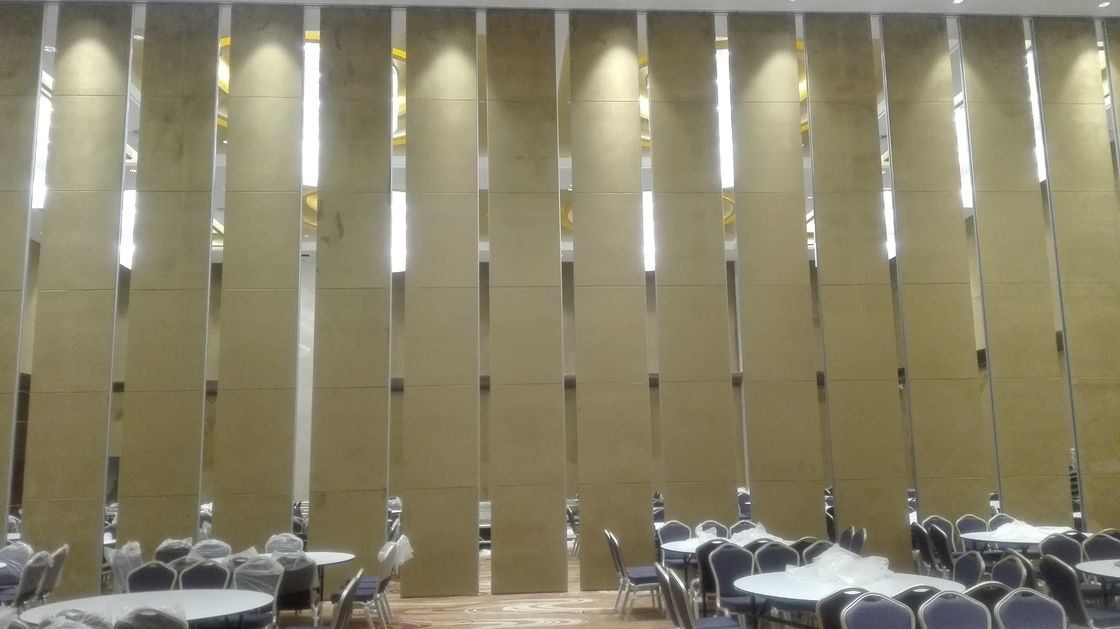
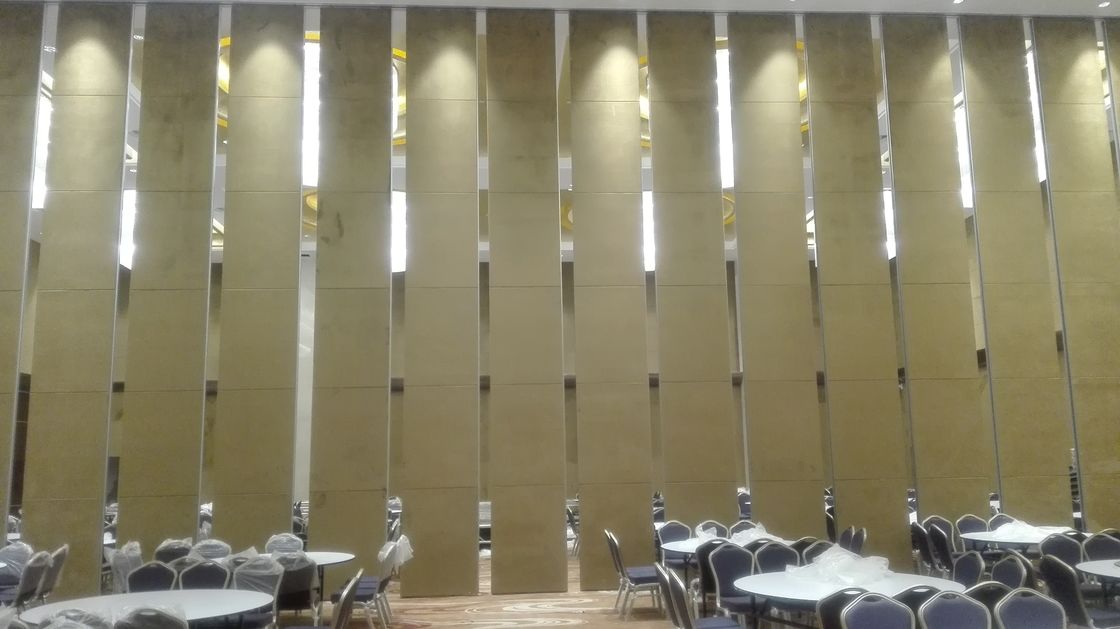
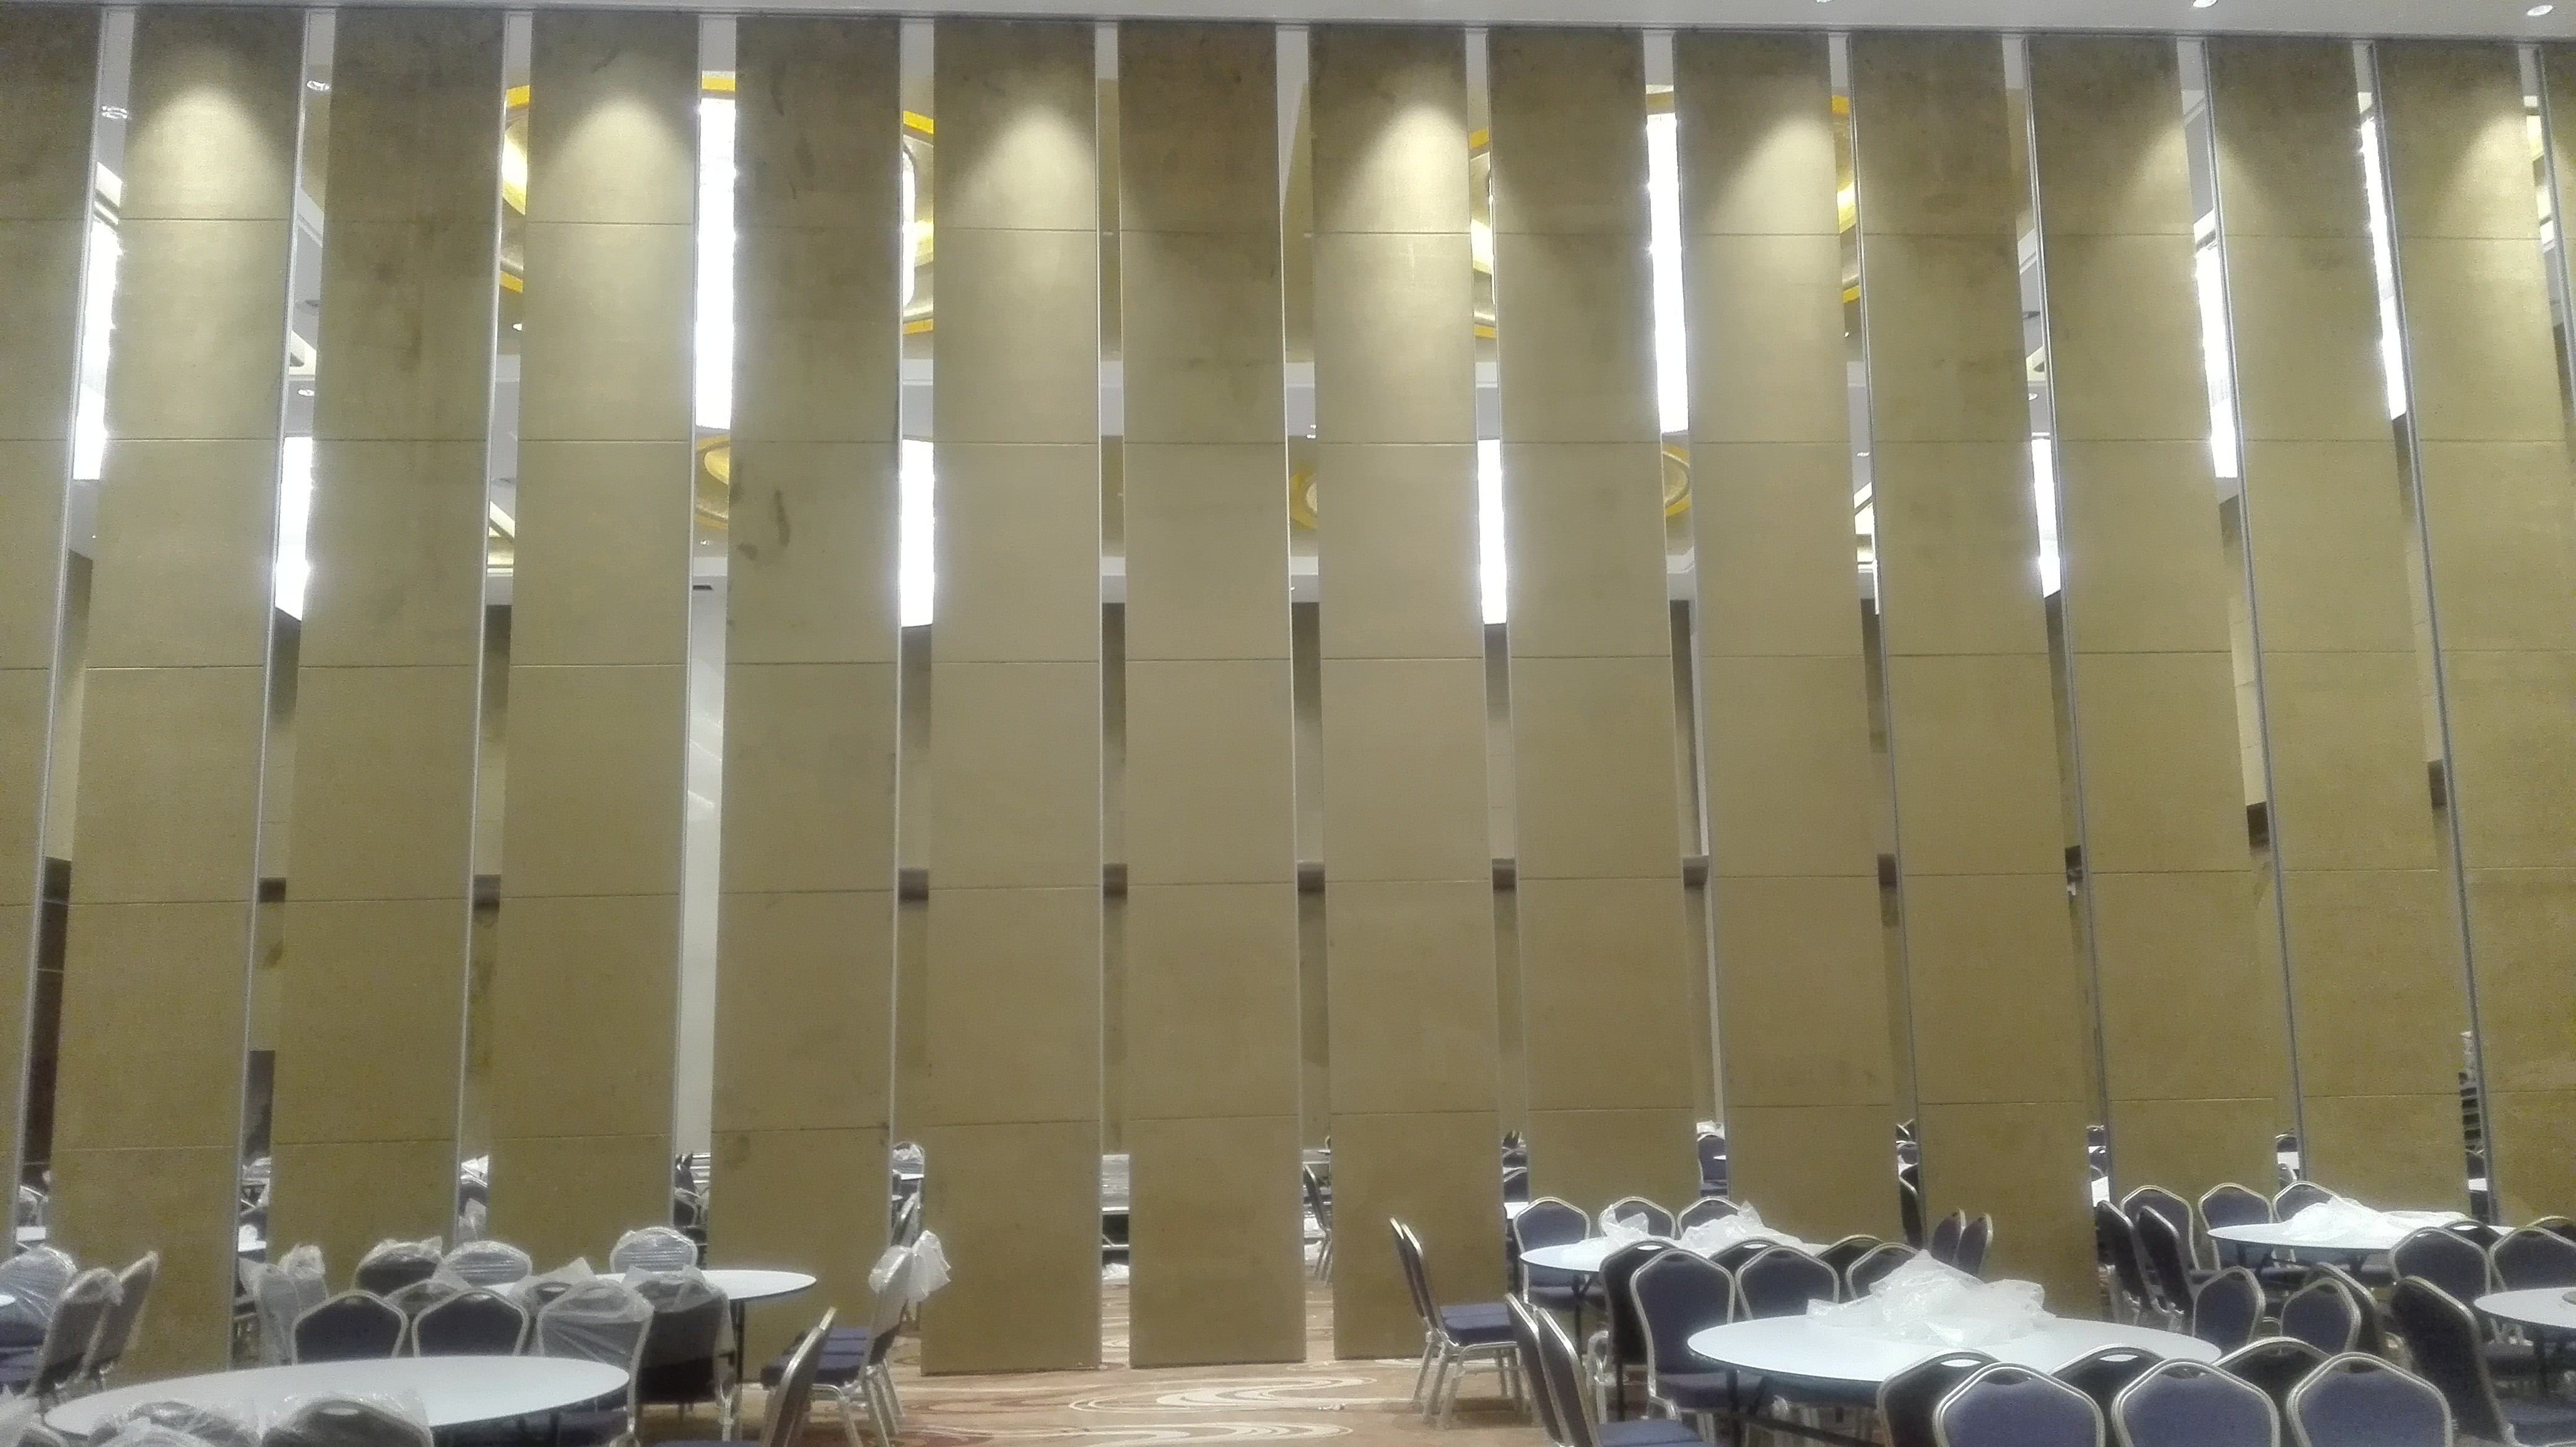
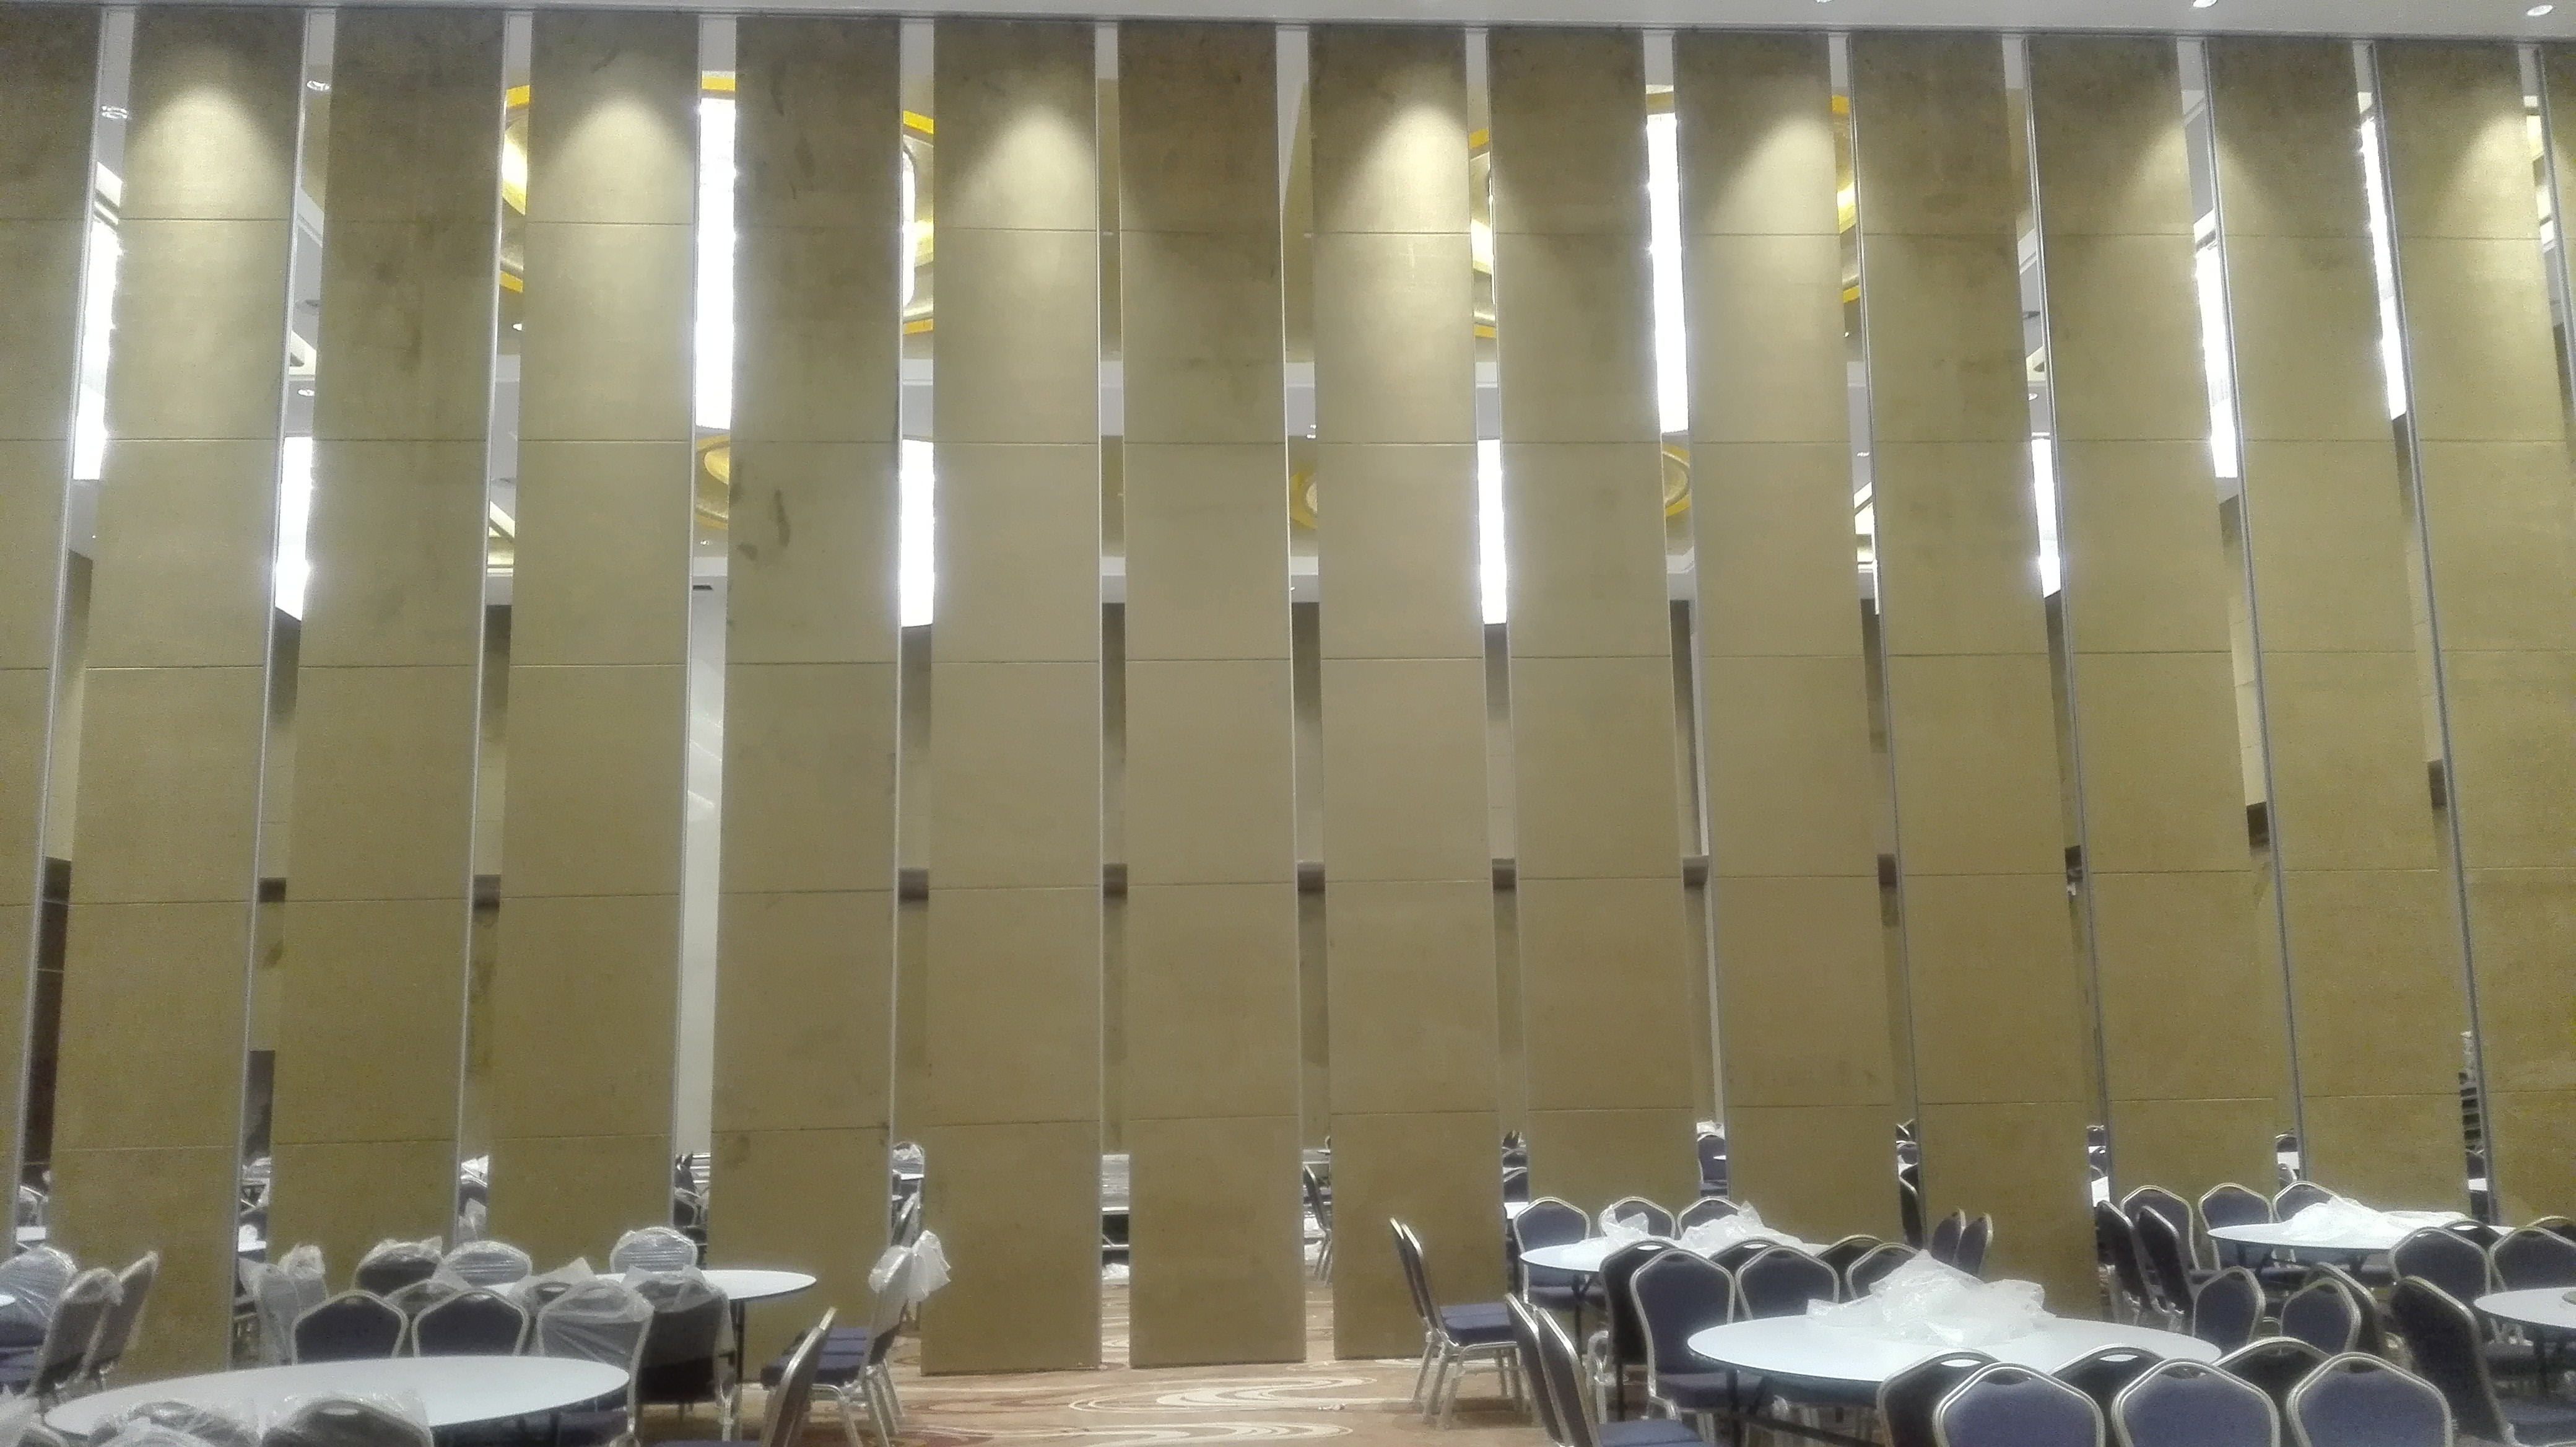
movable partition wall smoothly sliding extra high panel customized color size material

Product Details:
Place of Origin: China
Brand Name: Glawall
Certification: SGS, ISO 9001,UL, CE
Model Number: 100mm ultrahigh style
Payment & Shipping Terms:
Minimum Order Quantity: 10 square meters
Price: US$80.00 10 - 99 square meters
Packaging Details: wooden package
Delivery Time: 2-3 weeks
Payment Terms: L/C,D/A,D/P,T/T,Western Union
Supply Ability: 3000 square maters per month

Detail Information

Material: Aluminum Frame+glass Panel Transparency: Clear
Customizable: Size, Accessories Competitive Price: Yes
Panel Thickness: 60mm, 100mm Glass Type: Strong Tempered Glass
Frame Material: Aluminum Advantage: Competitive Price, Good Service, High Professional, Quality Guarantee

Product Description

movable partition wall smoothly sliding extra high panel customized color size material 0


Installing an extra-high movable partition wall (4 meters or taller) requires meticulous planning, specialized tools, and adherence to structural and safety standards. Below is a step-by-step guide to the installation process, key considerations, and best practices for ensuring stability, functionality, and aesthetic integration.

1. Pre-Installation Planning

A. Site Assessment and Design Review

  • Measurements:
    • Confirm ceiling height, floor-to-ceiling dimensions, and room geometry (e.g., straight vs. L-shaped layouts for corner-turning systems).
    • Check for obstructions (e.g., beams, ducts, pillars) that may require custom track configurations.
  • Structural Compatibility:
    • Ensure the ceiling can support the weight of the track system and panels (typically 50–100 kg per linear meter for ultrahigh models).
    • For concrete or steel ceilings, verify load-bearing capacity with a structural engineer. For drywall ceilings, reinforce with steel channels or plywood backing.
  • Design Documentation:
    • Review manufacturer drawings (e.g., track layouts, panel dimensions) and confirm compatibility with the space.


B. Material and Tool Preparation

  • Key Materials:
    • Track system (aluminum or steel, pre-cut to length).
    • Partition panels (pre-fabricated with acoustic/fire-resistant cores).
    • Hardware: Rollers, hinges, pivot joints, safety sensors, and motorized components (if applicable).
  • Tools:
    • Laser level, tape measure, and chalk line for alignment.
    • Power tools: Drill, impact driver, angle grinder, and scaffolding/lift for high ceilings.
    • Safety gear: Hard hat, safety glasses, and fall arrest equipment for working at heights.


movable partition wall smoothly sliding extra high panel customized color size material 1


2. Installation Steps


A. Track System Installation

B. Panel Assembly and Hanging

C. Motorization and Safety Features (if applicable)

D. Sealing and Finishing

Step 1: Mark Track Position


  • Use a laser level to mark the ceiling track route, ensuring it is straight and level. For corner-turning systems, mark 90° angles or curved paths (if applicable).
  • For dual-track systems (common in ultrahigh partitions), mark both the upper load-bearing track and lower guide rail (to prevent panel sway).
Step 1: Assemble Panels (if pre-fabricated)


  • Some systems ship panels in sections; assemble them using manufacturer-provided connectors (e.g., tongue-and-groove joints, metal clamps).
  • Attach rollers or carrier units to the top of each panel (these engage with the ceiling track).
Step 1: Install Motorized Drives


  • Mount electric motors or gear drives to the track (typically at the start/end of the track for linear systems).
  • Connect motors to a control panel or remote interface (e.g., touchscreen, IoT hub).
Step 1: Acoustic and Weather Sealing


  • Insert rubber gaskets or brush seals between panels and at the top/bottom edges to improve soundproofing (STC rating) and airtightness.
  • For fire-rated partitions, install intumescent strips (expand when heated to seal gaps during a fire).
Step 2: Mount Track to Ceiling


  • Concrete/Steel Ceilings:
    • Drill holes for anchors (e.g., wedge anchors, toggle bolts) and secure the track using M8–M10 screws or bolts.
    • Use a spirit level to adjust the track for perfect horizontal alignment.
  • Wood/Drywall Ceilings:
    • Install steel or wooden support channels between ceiling joists to distribute weight, then attach the track to the channels.
Step 2: Hang Panels on Track


  • Using a hoist or lift, raise each panel into position and hook the rollers onto the track.
  • For corner-turning systems, install pivot hinges at panel intersections to enable smooth rotation around corners.
  • Ensure panels are vertically plumb using a plumb bob or laser level.
Step 2: Integrate Safety Sensors


  • Install infrared sensors or pressure-sensitive strips on panel edges to stop movement if obstacles are detected (critical for compliance with safety codes like EN 16005).
  • Test sensor responsiveness by triggering them with a hand or object; ensure panels halt immediately.


Step 2: Trim and Aesthetic Finishes


  • Install decorative moldings or baseboards to cover track edges and guide rails.
  • For glass partitions, apply edge trims or 贴膜 (tint/etching) for safety and design consistency.
Step 3: Install Lower Guide Rail (if required)


  • Secure a floor-mounted guide rail along the path of the partition to stabilize panels at the base.
  • Ensure the guide rail is aligned with the ceiling track to prevent binding.
/ / /


movable partition wall smoothly sliding extra high panel customized color size material 2


3. Testing and Calibration

A. Functional Testing

  • Manual Operation: Slide panels manually to check for smooth movement, no binding, and even weight distribution.
  • Motorized Operation: Test electric drives for speed, noise levels, and stopping precision. Adjust motor torque if panels move too fast/slow.
  • Corner Turning (if applicable): Navigate panels around corners to ensure pivots rotate smoothly and tracks align correctly.


B. Safety and Compliance Checks

  • Load Test: Apply gentle horizontal force to panels to ensure they remain stable (no wobbling or track detachment).
  • Sound and Fire Testing:
    • Conduct an STC test using a sound meter to verify acoustic performance.
    • For fire-rated systems, ensure all components (e.g., seals, tracks) meet required fire resistance ratings (e.g., ASTM E119).
  • Code Compliance: Verify with local building authorities that the installation meets structural, electrical, and accessibility codes (e.g., ADA for handle heights).


4. Common Challenges and Solutions

Challenge Solution
Uneven Ceilings/Floors Use adjustable brackets or shims to level the track; grind down high spots on floors.
Excessive Panel Weight Ensure the ceiling structure is reinforced; use counterbalance systems for heavy panels.
Noise During Movement Lubricate rollers and tracks with silicone-based lubricants; add felt pads to panel joints.
Alignment Issues in Corners Pre-test corner tracks with dummy panels; adjust pivot angles before final installation.


movable partition wall smoothly sliding extra high panel customized color size material 3


5. Maintenance and Best Practices

  • Regular Lubrication: Oil rollers and hinges every 6–12 months to prevent friction.
  • Track Cleaning: Remove debris (dust, paint chips) from tracks to avoid jams.
  • Annual Inspections: Check for loose screws, worn seals, and motor performance; replace parts as needed.
  • Training: Provide operators with guidelines for safe use (e.g., avoiding abrupt stops, not exceeding weight limits).


6. Manufacturer-Specific Considerations

  • Follow Instructions: Always refer to the manufacturer’s installation manual (e.g., Hufcor, Dorma Hüppe) for model-specific steps (e.g., unique track profiles, panel locking mechanisms).
  • Warranty Compliance: Improper installation may void warranties, so ensure certified technicians handle the work.

Example Installation Timeline

Stage Duration
Site Assessment 1–2 days
Track and Rail Installation 2–3 days (for a 20m straight run)
Panel Hanging and Motorization 1–2 days
Testing and Calibration 1 day


Installing an ultrahigh movable partition wall is a specialized process that demands precision and expertise. Hiring a certified installation team with experience in high-load systems is critical to ensuring safety, functionality, and long-term performance. Always prioritize structural integrity and code compliance to avoid costly (rework) or safety hazards.


movable partition wall smoothly sliding extra high panel customized color size material 4

Get in touch with us

Enter Your Message

You Might Be Into These